Tutorial for Let's Constellate
How to run a constellation session: the board, representatives, Tools, Notes, snapshots, timer, and shortcuts.
1. Start a session
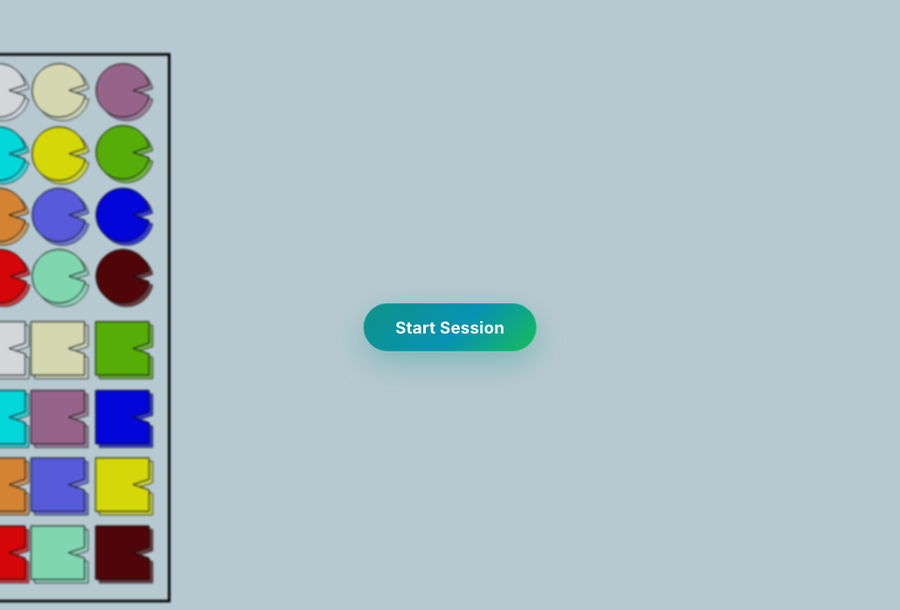
Open your room from Home, then press Start Session. Free and Flex run a clock; Pro is unlimited (no End Session button). Board tools are the same on every plan — only session time differs.
- Free — timed session (global Free minutes).
- Flex — uses your credit balance; can continue into overdraft past zero. Mid-session you can often buy more credits without leaving.
- Pro — unlimited time.
Pricing and buying Flex/Pro: Pricing. Flex details: Home → How Flex credits work.
2. Session navbar
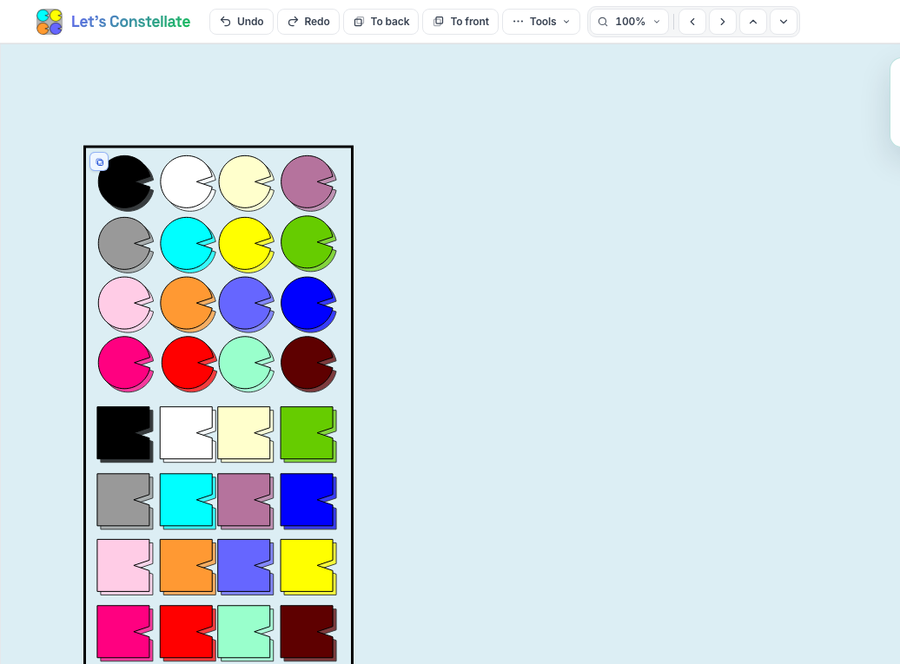
After Start Session, the top bar is your control strip for editing, view, and session actions.

Left: edit & arrange

- Undo / Redo — step board edits backward or forward.
- To back / To front — layer the selected item behind or in front of others.
- Tools — floating panel (Delete, Color, Decorate, draw tools, and more).
Zoom
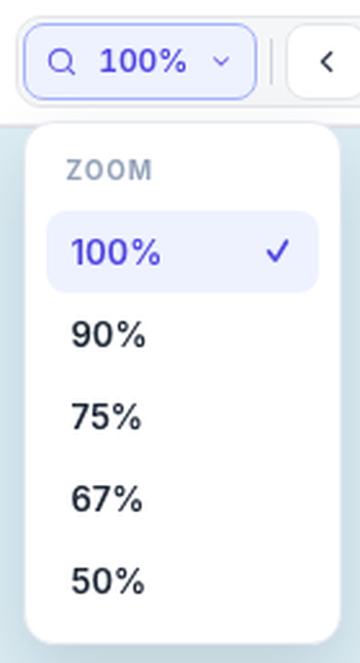
Open the magnifier (shows the current %, usually 100%). Presets: 100%, 90%, 75%, 67%, or 50%.
- 100% fits the tray + board to your window.
- You can only zoom out from that fit (down to 50%), so the palette stays fully visible.
- Zoom changes the whole board view — it does not resize one rep (use the corner dots on a selected rep for that).
Pan arrows (view)
The four arrows next to Zoom move what you see (left / right / up / down). They do not move a selected rep.
Right: session actions
- Name / avatar — session status (time / Flex credits), Buy Flex or Upgrade when offered, Settings.
- Tutorial — opens this guide in a modal; session stays open.
- End Session — Free / Flex only (see Timer).
- + New Session — clears the board for a fresh field (after the notes / snapshot reminder).
3. Working with representatives
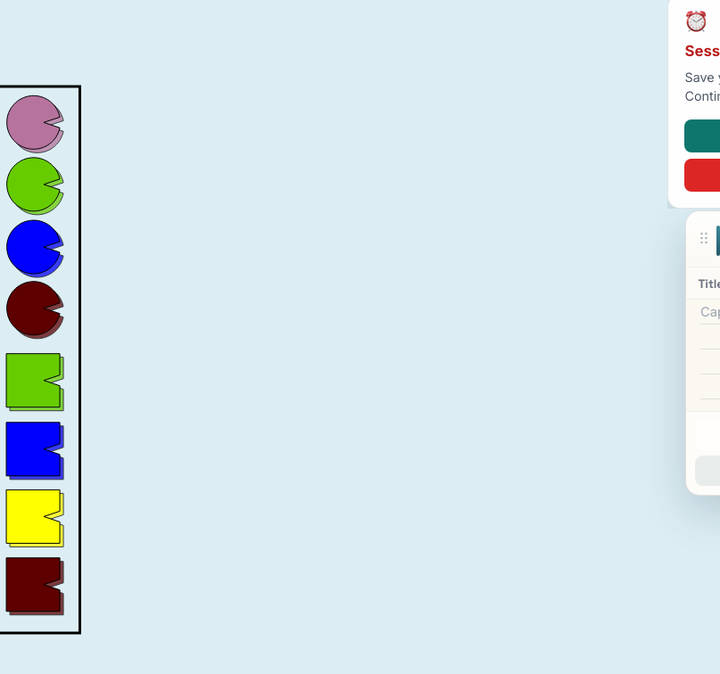
The left tray holds stock reps. Drag copies onto the board; move, turn, and resize them. Stock tray shapes stay locked — only board copies are free to arrange.
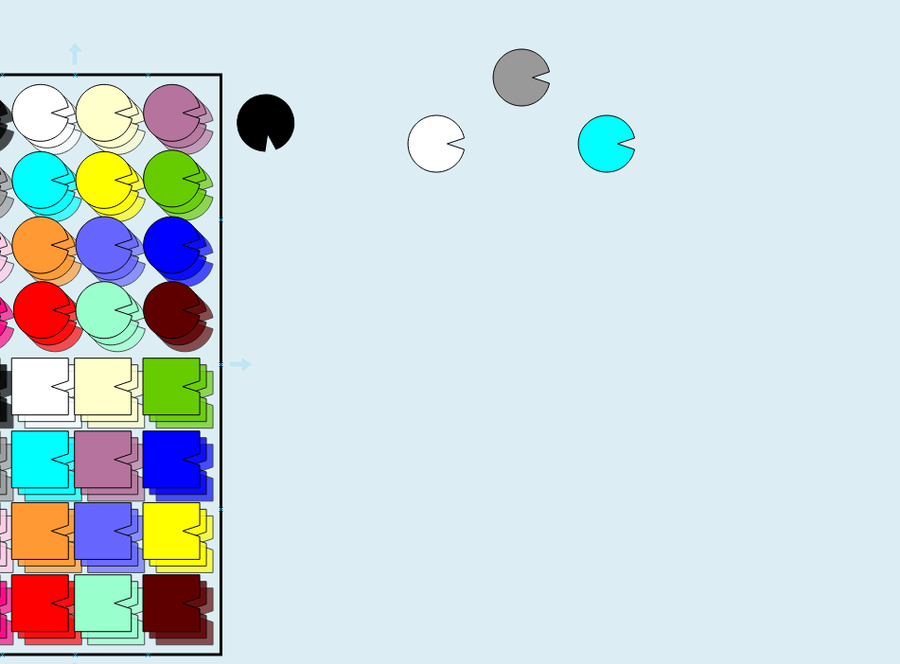
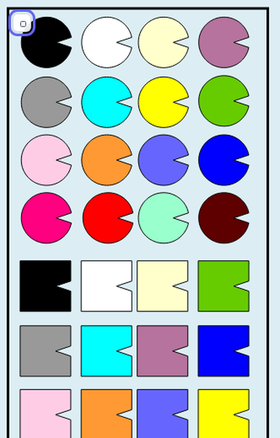
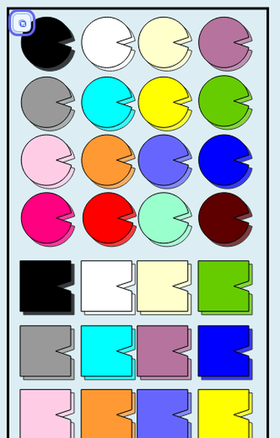
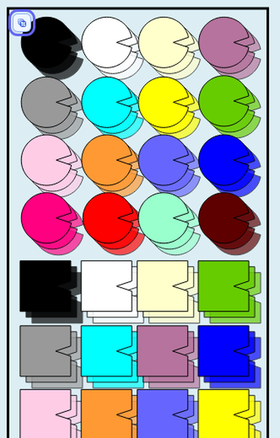
Palette stack: show 1, 2, or 3
Top-left of the tray: click the stack button to cycle 1 → 2 → 3 → 1. This only changes how many “copies” appear under each stock shape — not how many you place when you drag.
Drag a rep onto the board
- Press and hold a shape in the tray.
- Drag onto the blue work area and release.
- The tray slot refills. Move the board copy freely.
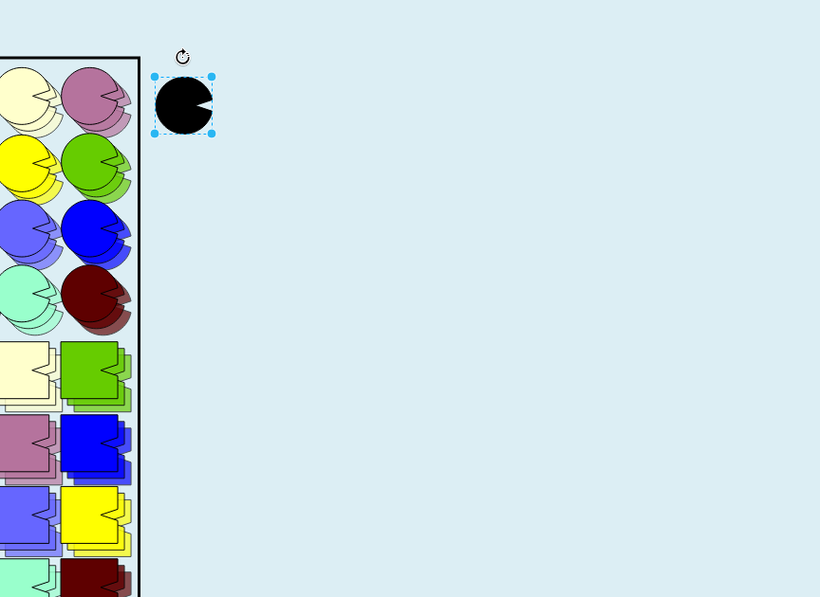
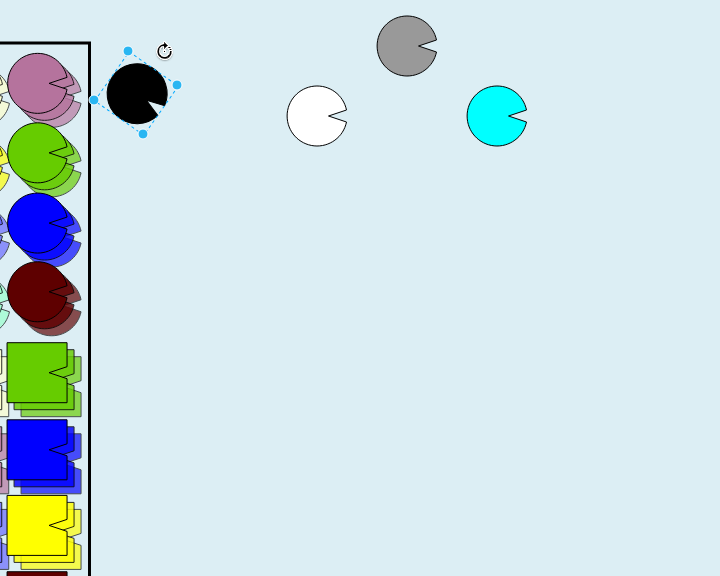
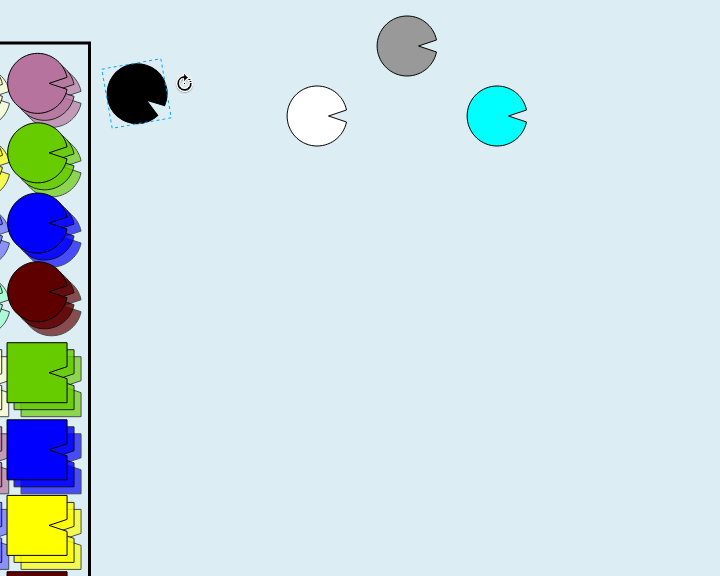
Turn (rotate) a rep
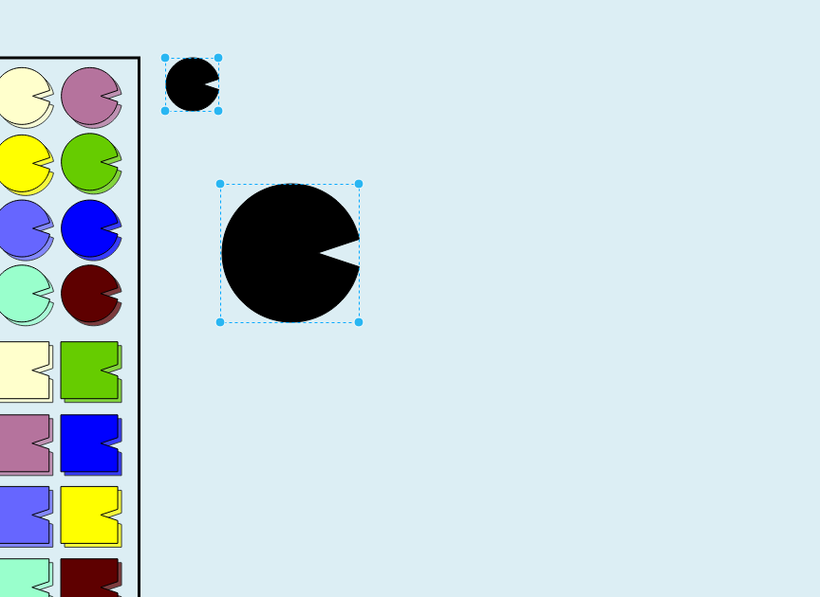
- Click the rep to select it (blue box + corner dots).
- Drag the curved rotation handle above the selection to turn it.
- The notch shows facing / orientation in the field.
Make a rep larger (or smaller)
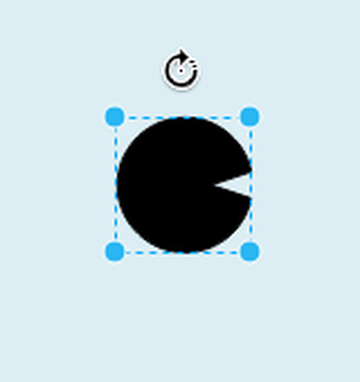
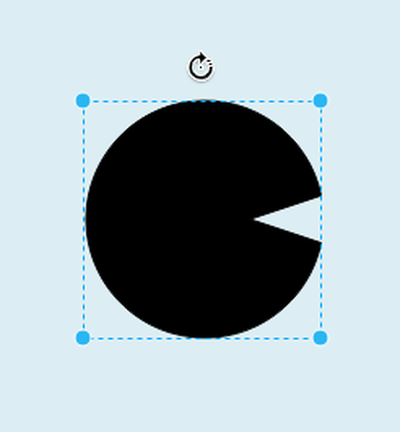
- Click the board rep to select it.
- Drag any of the four corner dots outward to enlarge, or inward to shrink.
- Corners only (edge midpoints are hidden on purpose).
Label a rep
Double-click a board rep to name it. Use Tools → Color to change its color.
Board text
Double-click empty board space, or Tools → Text then click the board. Use the format bubble for size and color while editing.
Hover arrows
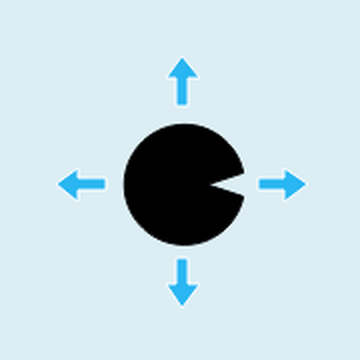
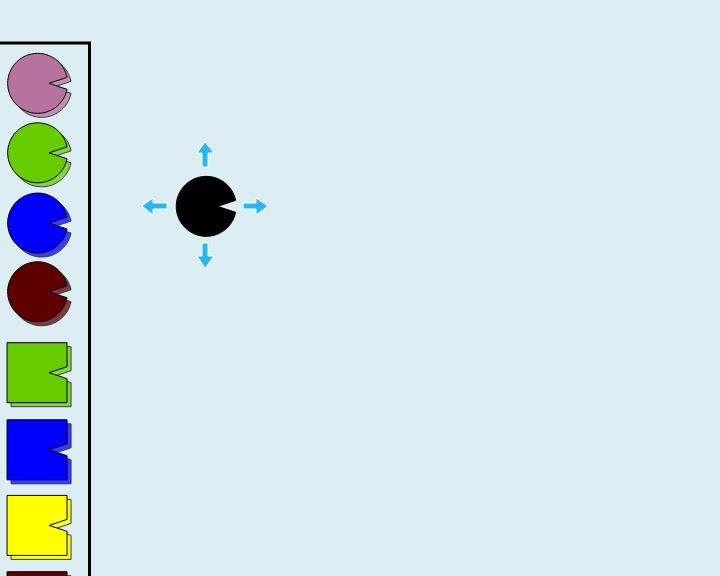
With nothing selected, rest the pointer on a board rep (~½ second). Four faint light-blue arrows appear — visual cues only; they do not draw connections, and they disappear when the rep is selected.
4. Tools, drawing & decorate
Open Tools from the session navbar (⋯ Tools). The floating panel can be dragged by its header; close with ×, toggle Tools again, or press empty board when idle.
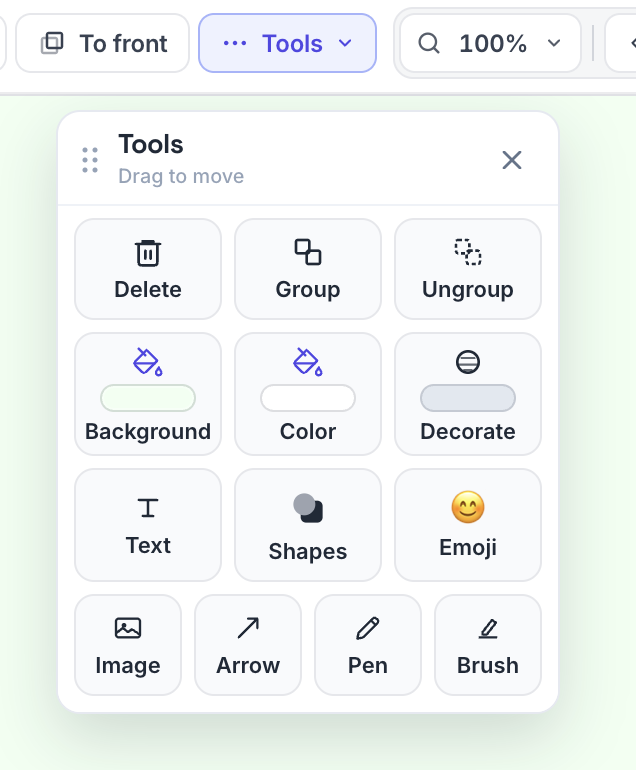
Tools grid (what each does)
- Delete / Group / Ungroup — remove or combine selected items.
- Background — board color (live preview while you pick).
- Color — paint selected reps, shapes, text, or ink. Annotate shapes can be Fill or See-through.
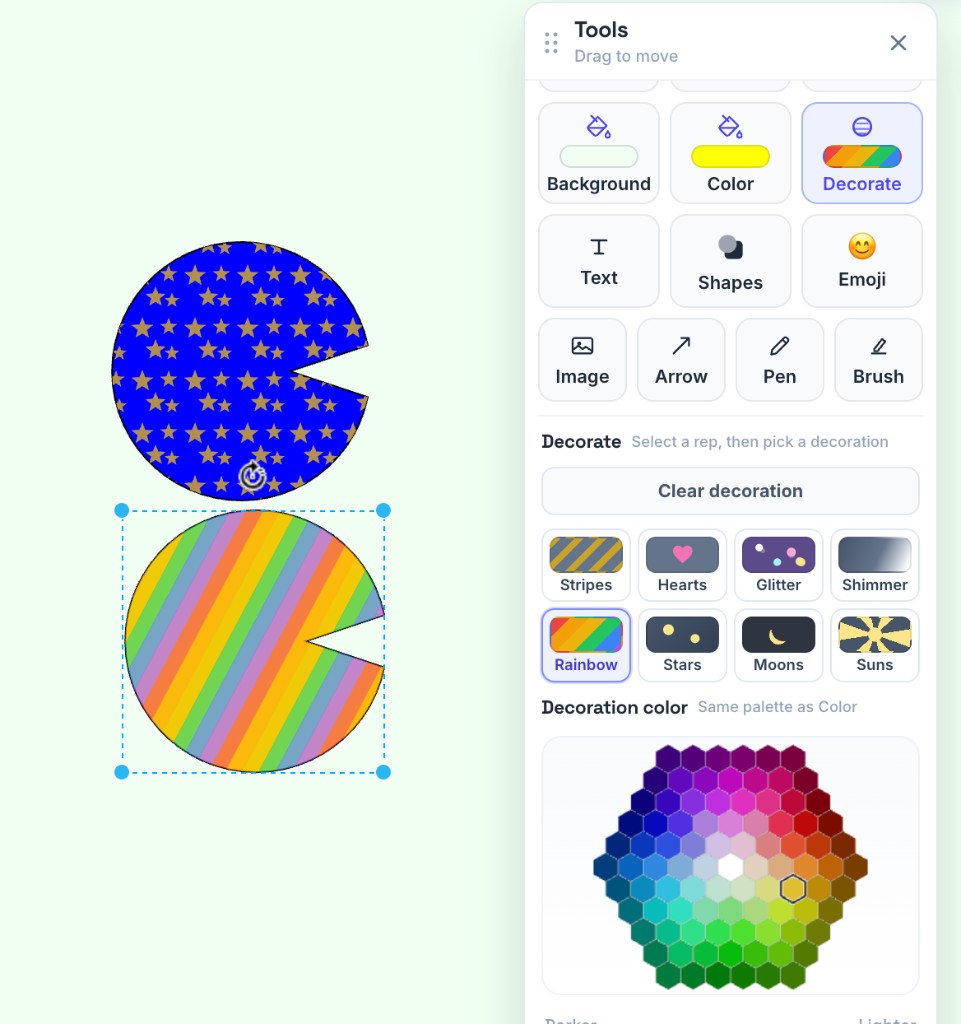
- Decorate — presets on reps only (Stripes, Hearts, Glitter, Shimmer, Rainbow, Stars, Moons, Suns). Clear decoration removes the look.
- Text / Shapes / Emoji — place labels, annotate shapes, or emoji cells.
- Image — JPG/PNG up to 10 MB.
- Arrow / Pen / Brush — draw on the board; Esc or the same button exits the tool.
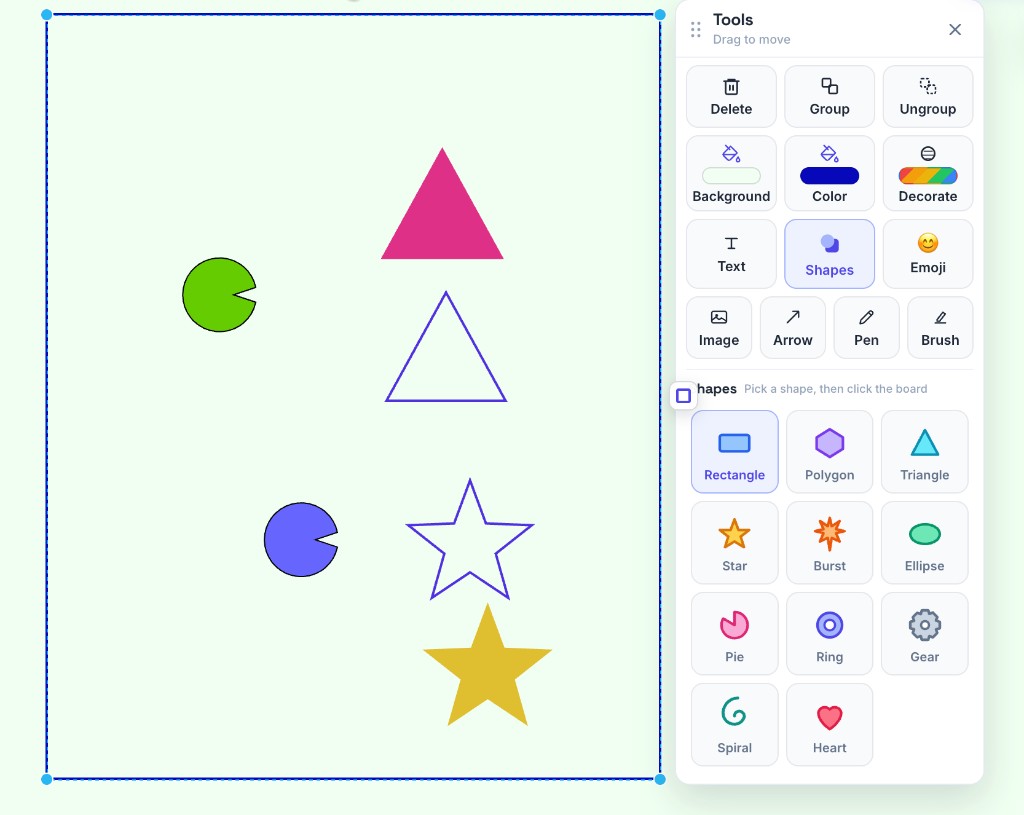
Shapes
- Open Tools → Shapes.
- Pick a shape (Rectangle, Polygon, Triangle, Star, Burst, Ellipse, Pie, Ring, Gear, Spiral, Heart).
- Click the board to place it.
- Select a shape, then use Color — Fill or See-through for outline-only looks.
- Resize with corner dots; rotate with the curved handle (same as reps).
Decorate
- Select a board rep (not a tray stock shape).
- Open Tools → Decorate.
- Pick a preset (Stripes, Hearts, Glitter, Shimmer, Rainbow, Stars, Moons, Suns).
- Optionally change Decoration color with the hexagon palette.
- Use Clear decoration to remove the look.
5. Notes & Session Snapshot
Capture what emerged — don’t rely on the browser tab staying open.
Notes
- Open the Notes chip (defaults top-right). Drag the chip or header to reposition; resize from edges.
- Add a Session Title; drafts autosave while you type.
- Export notes as .txt or Word (.docx).
- Notes are session-ephemeral: after refresh or New Session they clear.
Session Snapshot
- Export the full board as PDF or JPG (palette + work area + drawing ink).
- Filename uses your session title and date.
- Notes UI and popups are excluded from the image — only the constellation field.
6. Timer, End Session & New Session
Timer chip
- On Free / Flex, the floating chip appears when ≤ 10 minutes remain (drag it anywhere).
- No separate 10- or 5-minute warning popups.
End Session & continue
- Free — End Session (time left): pauses → Continue session or End Session. Notes open for saving.
- Free — time runs out: session ended card; Continue is not offered — save snapshot, then End Session.
- Flex — End Session: pause with Continue / End Session. Credits settle when you finally End Session. Past zero, Flex can continue into overdraft.
- Pro / unlimited: no End Session button. Use New Session or Home when ready (after notes prompt).
7. Keyboard shortcuts
Same actions appear in the board right-click menu (Mac or Windows labels).
| Action | Windows / Linux | Mac |
|---|---|---|
| Duplicate | Ctrl + D | ⌘ + D |
| Undo | Ctrl + Z | ⌘ + Z |
| Group | Ctrl + G | ⌘ + G |
| Ungroup | Ctrl + Shift + U | ⌘ + Shift + U |
| Send to back | Ctrl + B | ⌘ + B |
| Change rep color | Ctrl + Y | ⌘ + Y |
| Open Tools | Ctrl + E | ⌘ + E |
| Session snapshot | Ctrl + S | ⌘ + S |
8. Tips & tricks
- Past left, future right — classic constellation orientation when it helps the field speak.
- Name early — label reps as soon as roles are clear.
- Decorate for quality, not clutter — one clear look beats decorating everything.
- Group related clusters — Group 2+ items so a subsystem moves together.
- Snapshot at turning points — capture before a big move and after resolution.
- Notes as process log — short bullets: intention, key sentences, closing sentence.
9. Video walkthrough
Full product tour (coming soon).
We’ll embed the walkthrough here (YouTube or Vimeo). Until then, use the sections above.
Questions? lets.constellate.online@gmail.com